So now that you are good at scything, what are you going to do with all that grass you can cut?
Option 1: Leave it in place.
You can either mow with very short strokes, and chop-and-drop in place. This works best for dense patches of younger weeds, like Canadian thistles (see video). Or you can mow with a full scythe stroke, which will deposit the cut vegetation to the side in a windrow. This windrow, however, will slow down the growth of the plants underneath, and will later interfere with your scythe stroke the next time you mow the area. So if you want to leave the cut grass to decay in the field, you have to spread the windrow back out evenly over the ground. The disadvantage to leaving the grass in place is that it makes it difficult to mow the field clean the next time. This can be okay for soil building, or native plant conservation efforts, but it won't work well for making good hay, or keeping a neat lawn.
You can either mow with very short strokes, and chop-and-drop in place. This works best for dense patches of younger weeds, like Canadian thistles (see video). Or you can mow with a full scythe stroke, which will deposit the cut vegetation to the side in a windrow. This windrow, however, will slow down the growth of the plants underneath, and will later interfere with your scythe stroke the next time you mow the area. So if you want to leave the cut grass to decay in the field, you have to spread the windrow back out evenly over the ground. The disadvantage to leaving the grass in place is that it makes it difficult to mow the field clean the next time. This can be okay for soil building, or native plant conservation efforts, but it won't work well for making good hay, or keeping a neat lawn.
Option 2: Remove the green grass from field
The fresh cut green grass can be forked up and fed green to cows, horses, or other herbivores (see video). Or you can remove it from the field and spread it directly on garden beds and around plants, as a smothering mulch, or use it to make compost.
Option 3: Dry it and make hay and then remove from field
You can process the fresh cut grass into hay, by spreading the windrow out to dry, then raking it back into windrows, and turning them until the hay is evenly dry (see Haying webpage). In areas of irregular weather, the partially dried hay can be gathered and placed on various hay drying-rack systems, that help minimize the exposure to rainfall while slowly drying in the air. Once finished, remove it from the field and store it in a haystack, or barn, for later use as feed or mulch.
Option 4: Leave it in the field to make a Windrow Garden
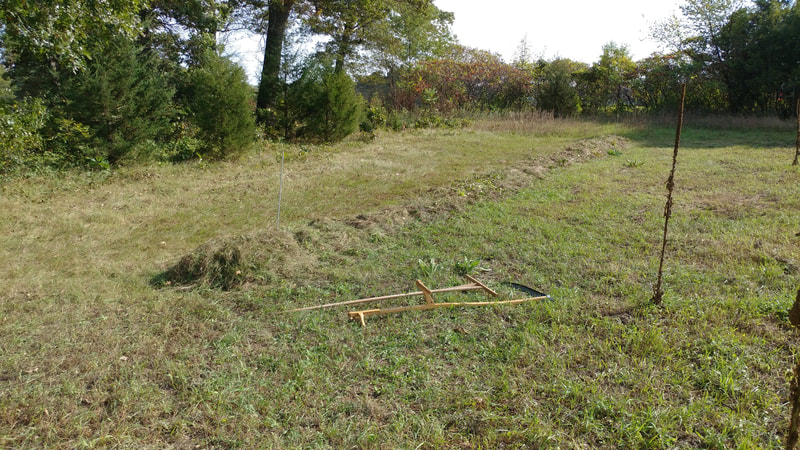
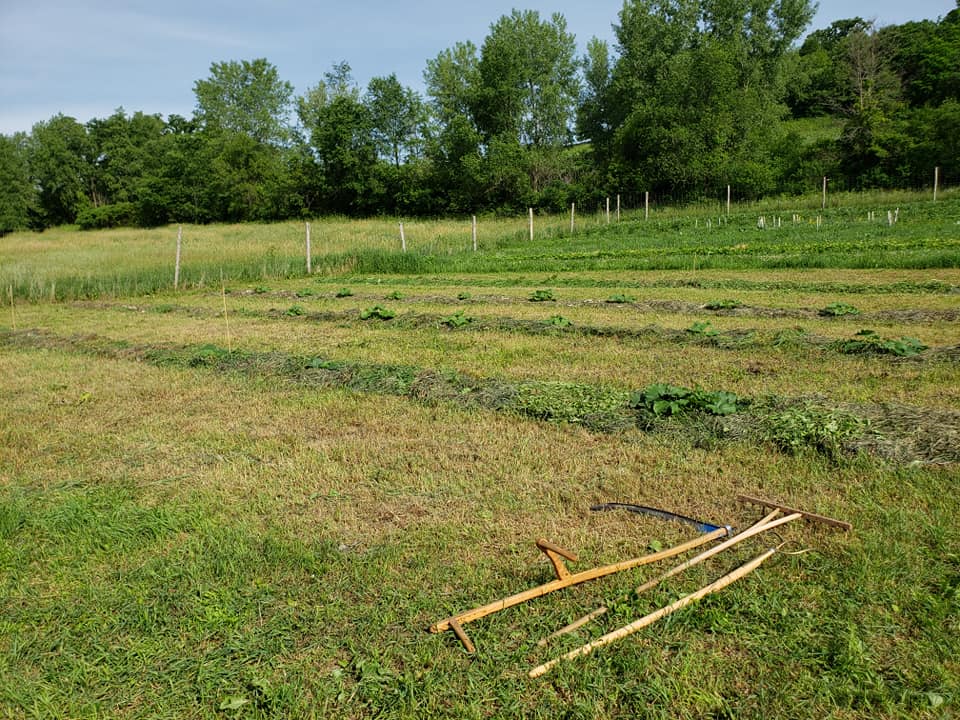
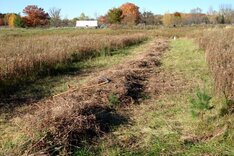 Using a scythe to make a double windrow.
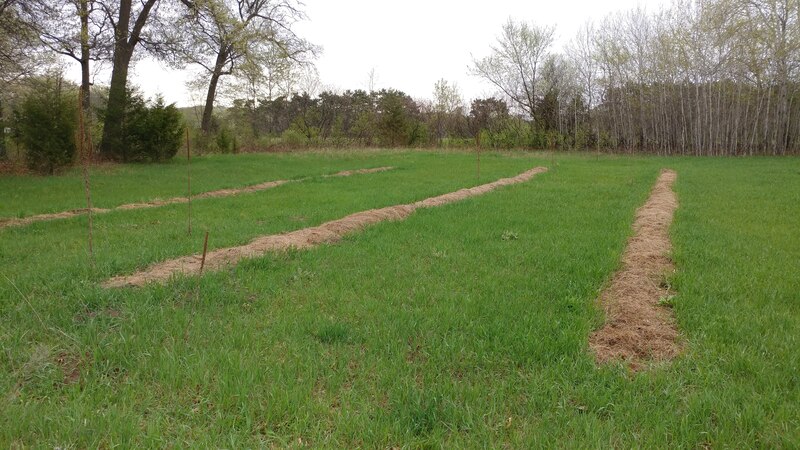
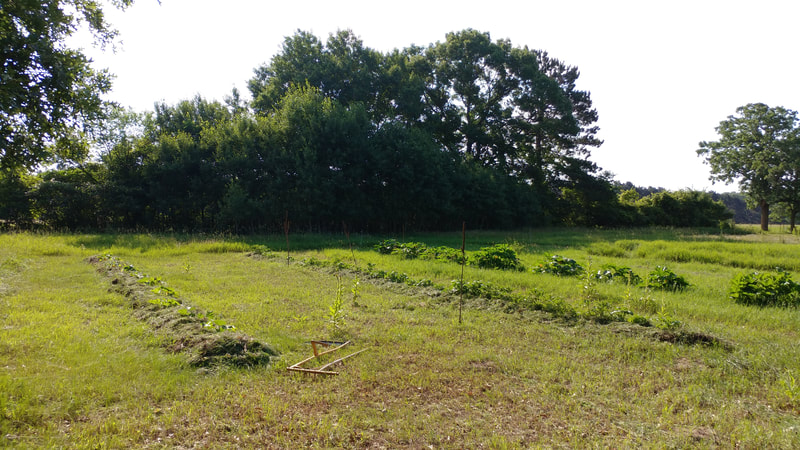
A windrow garden is an idea of mine that I have been working on for ten years now, on four different farms. My idea is to utilize the scythe's power to gather the cut grass into a windrow to advantage. If you've heard of Tai Chi mowing, this is like Tai Chi gardening. You leave the windrows formed by your full scythe stroke, out in the field, to intentionally smother the sod underneath it. You mow in a pattern that doubles up the windrows against each other, combining to form a dens, single line of mulch, to maximize their sod suppressing power. To do this, mow across the field one direction, forming your first windrow, then turn around and mow back in the opposite direction, depositing the second windrow into the first one. Repeat this pattern across your meadow, so that each line of mulch is two scythe strokes apart.
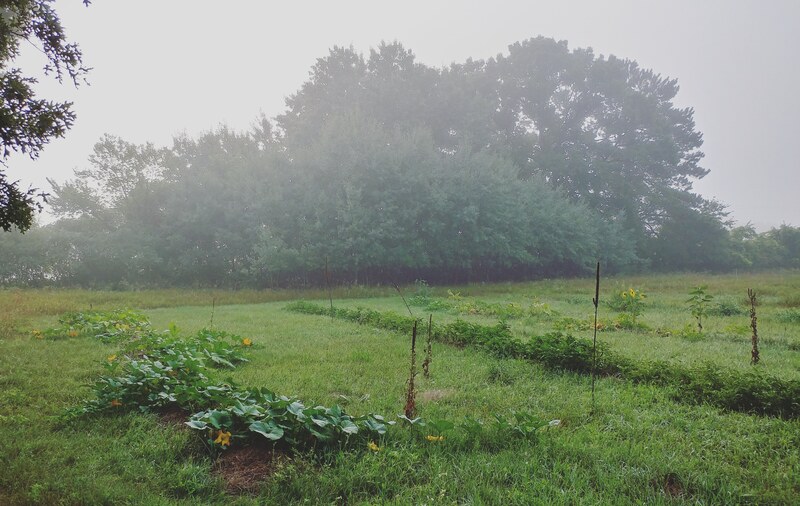
Instead of interfering with subsequent mowings, these windrows are always deposited neatly in the same place, out of the way of future mowings, and builds the soil from the top down, under the continually decomposing mulch. Once established, this line of mulch can then be planted into with seed potatoes, vegetable starts, and/or tree seedlings. Subsequent mowings of the lane in between are added directly to this line to continually replenish the mulch, with relatively minimal work, since all subsequent windrows created by your scythe stroke, end up right against it. Instead of having to expend the energy to haul it somewhere else, you only have to rake the fresh cut grass about a foot to the top of the mulch-line. If you have the space for this type of garden, it can minimize the added labor of handling the huge volume of grass that you can cut, and you can create a more diverse and natural foodscape. A scythe-powered, natural farm. The One Scythe Revolution!
Depending on the density and maturity of the grass and forbs, and also what you intend to plant, this initial double windrow, and the subsequent mowings from the lanes in between, may be enough to smother the sod underneath. If your soil is less fertile and the grass is more sparse, you will probably have to bring in more mulch to top it off, in order to completely mulch out the sod underneath for later planting with vegetables. The pathway going out to my garden is a good source for me. If you have a lawn and shade trees by your house, you have a good source of grass and leaves for additional mulch material, as well.
To increase the fertility of the grassy lanes in between the windrows of mulch, you can overseed with nitrogen-fixing legumes, such as white and red clover, or alfalfa. I have also overseeded with buckwheat, to draw up minerals from the subsoil, and attract bees. Overseeding with legumes is like growing your own fertilizer in between the garden beds. Another way of bringing in fertilizer is to graze the area in the off season. I used to let my ducks and geese forage freely in my windrow garden, after the harvest in the fall, and before planting in the spring. (See video.) The geese especially liked to graze the extra rich grass growing at the edges of the mulch-lines, and the ducks would constantly hunt for slugs and insects. Their manure would help speed up the decomposition of the mulch, and fertilize the grass lanes in between.
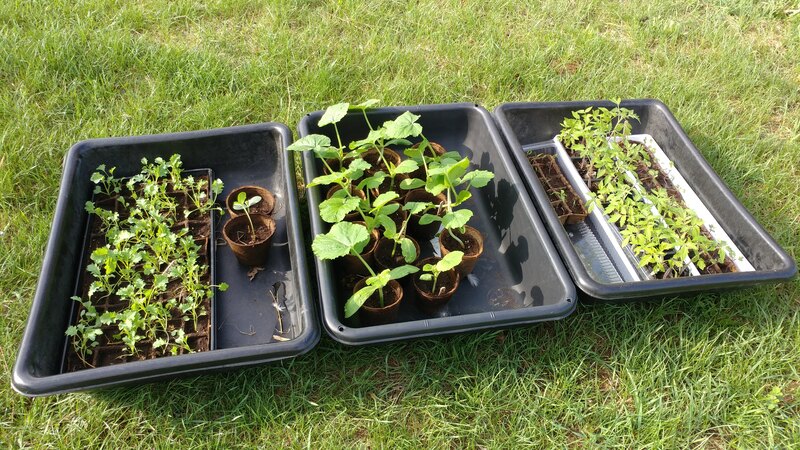
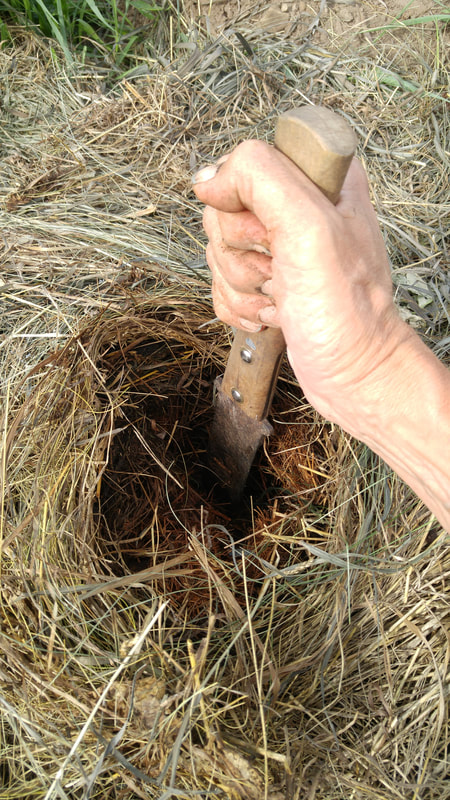
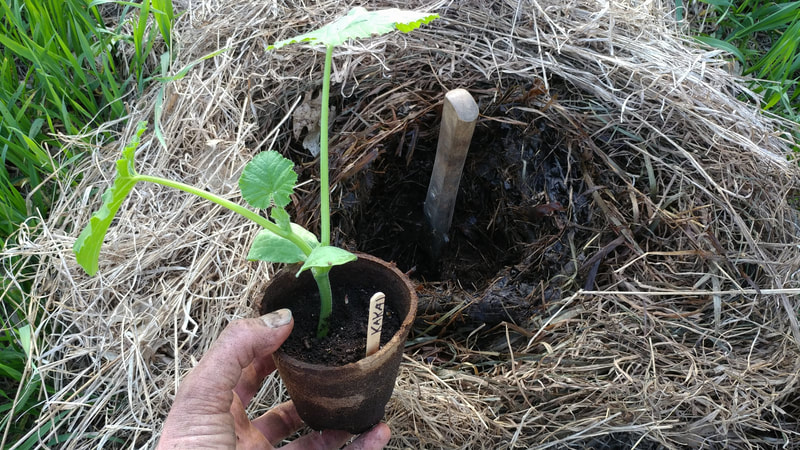
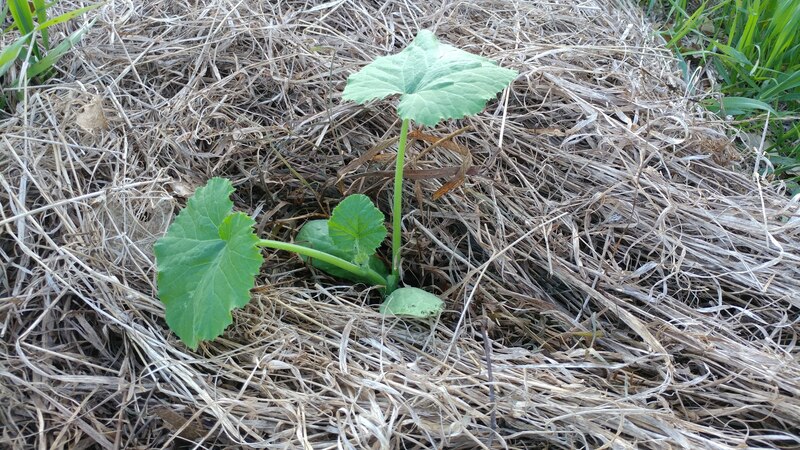
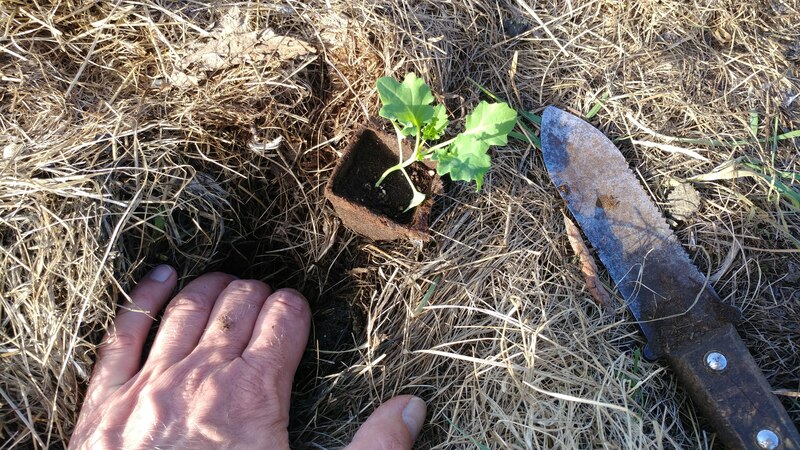
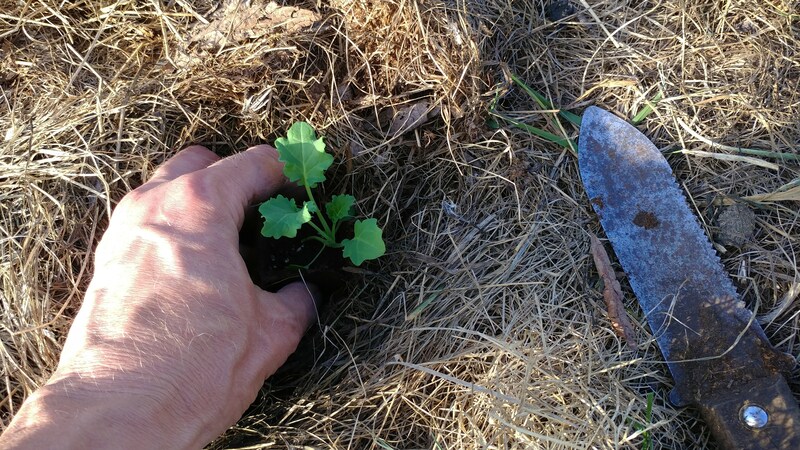
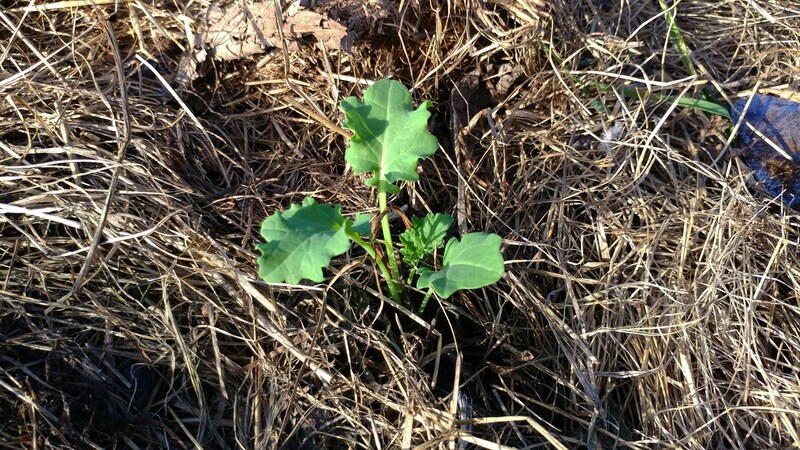
Once the sod is broken down enough under the thick layer of decaying mulch, you can plant it with seed potatoes, vegetable starts, and even tree seedlings. I plant through the mulch with a Japanese gardening knife. I simply stab through the mulch to the soil surface, then I leverage the long handle of the knife in several directions, in order to part the mulch and create a large enough opening to plant through. For vegetable seedlings, I will dig a little ways down into the soil, and mix in a couple of handfuls of my biochar compost, to give the seedling a good start. I then plant the seedling, and water it. Then I pull the mulch back together around the stem of the plant.
What to plant in a windrow garden?
Potatoes
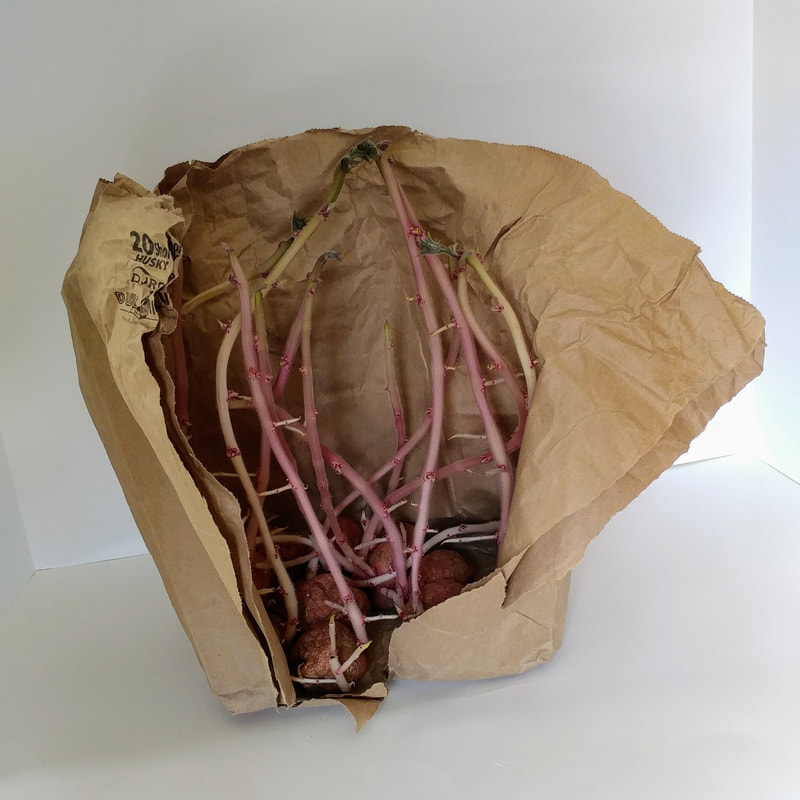
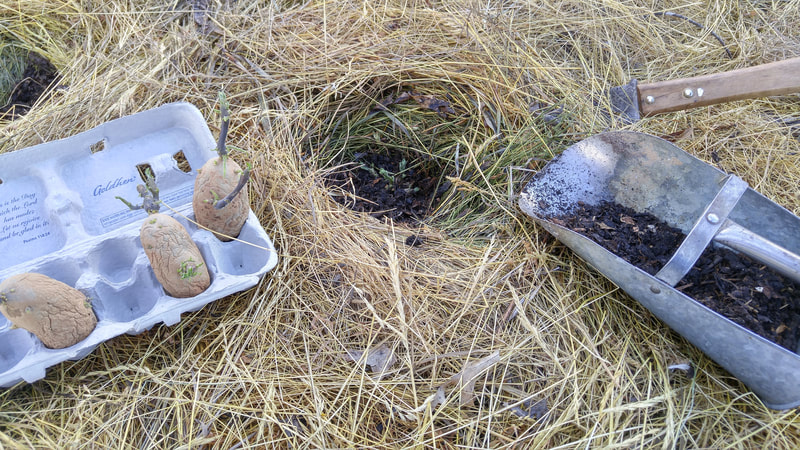
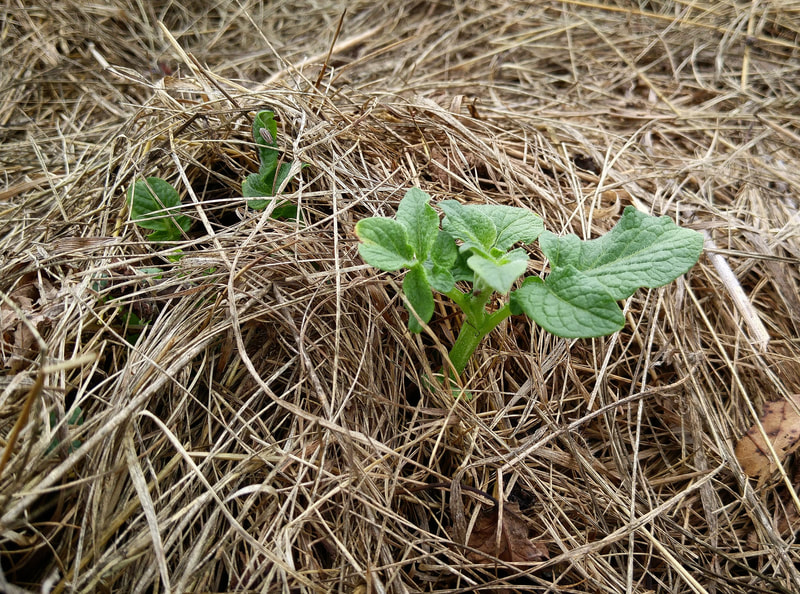
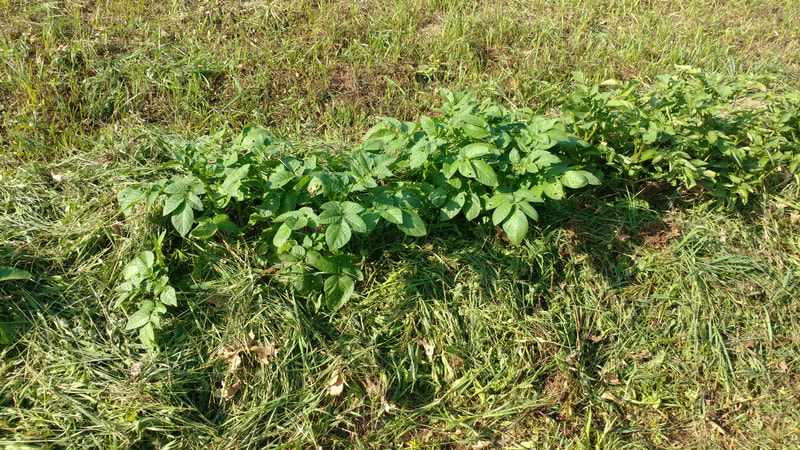
Potatoes are my favorite first crop to plant in a newly mulched-out, no-till, windrow garden bed. The decaying sod can be quite hard, and difficult to plant into. Potatoes thrive in the horizontal layer in between the soil and the decaying grass mulch. My favorite potatoes to plant are the ones left over from last year in the root cellar, that have grown about a 6-8 inch sprout. These can be planted in the mulch by simply stabbing through the hay with the digging knife, levering an opening in the mulch down to the soil, scrape the decayed sod at the bottom a little to loosen it up, and then just set the potato on top of the loosened sod and close the hay mulch back around the sprout. To close the opening in the mulch, I gently tug at the hay at the bottom, and start closing the mulch around the sprout. I work my way up closing the mulch around the stem as I go until I get to the top of the sprout. A potato planted this way will "hit the ground running". The tuber will have enough moisture and nutrients to grow roots down into the soil, and to simultaneously form leaves at the top of the sprout. A fresh potato with no sprouts can also be planted under the mulch, but it will take a long time before you see leaves coming up out of the mulch. To help it out, I plant the potato and cover it with some biochar compost, and then only partially close the mulch over it, so that light can get in for the leaves, and there is an opening for the plant to grow up through.
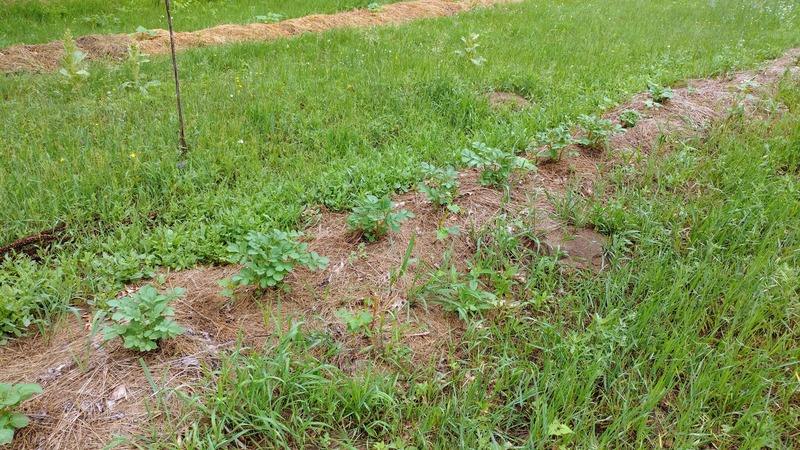
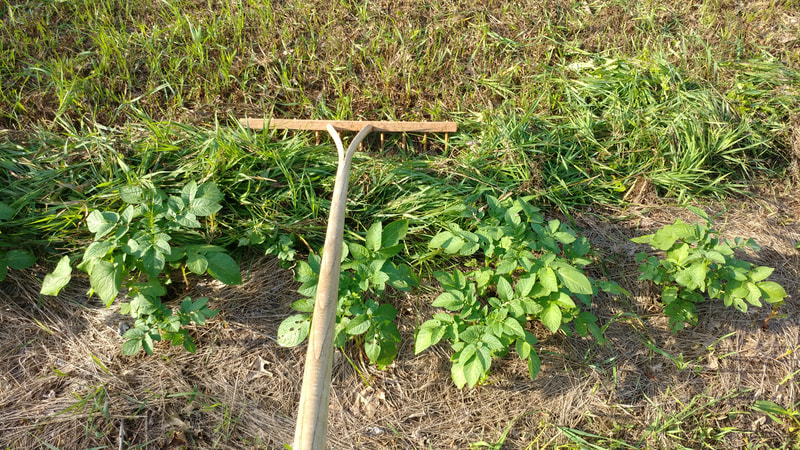
Once the potato plants are growing, it is vital to keep up with replenishing the hay mulch, in order to support the plant, and to keep the tubers in the dark. If the mulch breaks down and gets too thin, the sunlight will turn the potato skins green and toxic. Replenishing the mulch is easy to do in a windrow garden. When the grass lane needs mowing, simply scythe a fresh windrow up against the potato row and then gently rake the fresh cut grass up under the canopy of the potato plants.
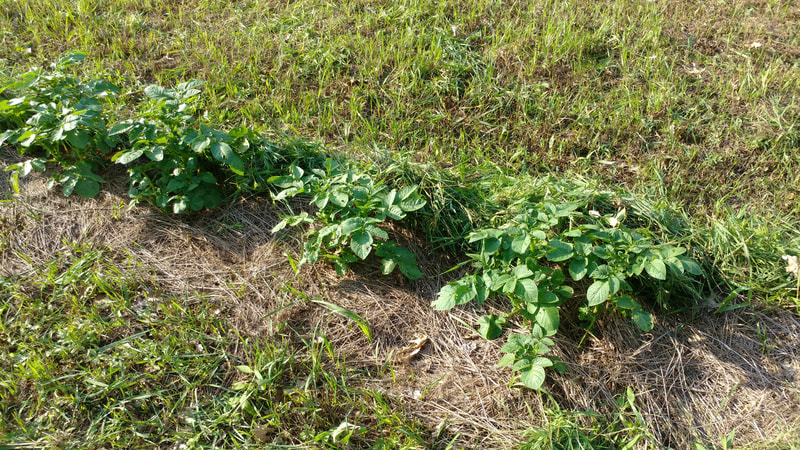
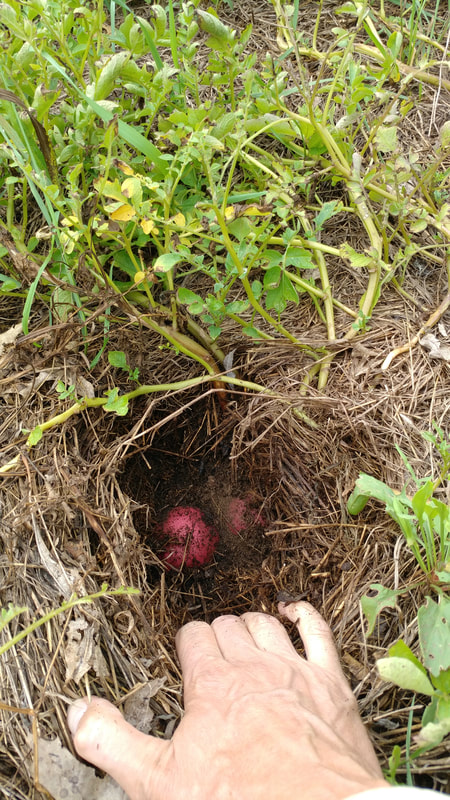
When the tops begin to fail, I start harvesting the potatoes as I need them. I simply pull the mulch away from near the base of the plant with my bare hands, and pick up the potatoes. For every small potato that I use as a seed plant, I get anywhere from 5-8 good sized eating potatoes. Yields are not as high as when you plant seed potatoes in dirt trenches and then weed, and mound the potatoes, and then dig to harvest. But it's a lot less work to scythe and mulch than to dig all that dirt, in my opinion, and potatoes make a great first crop in a mulched-out garden bed, that actually help the bed get established for succeeding crops.
Squash
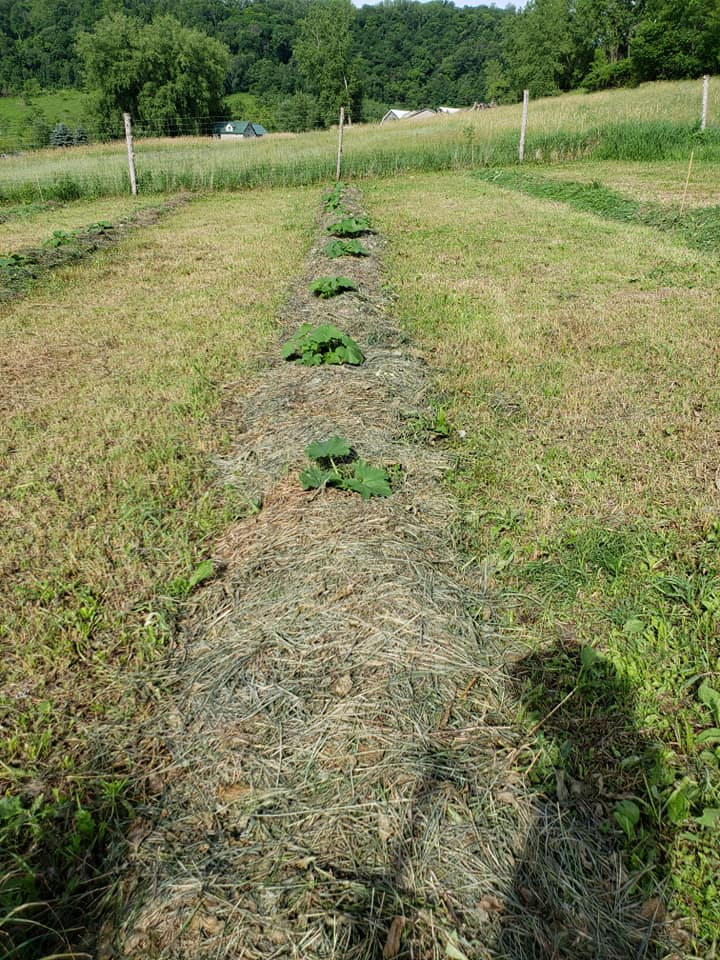
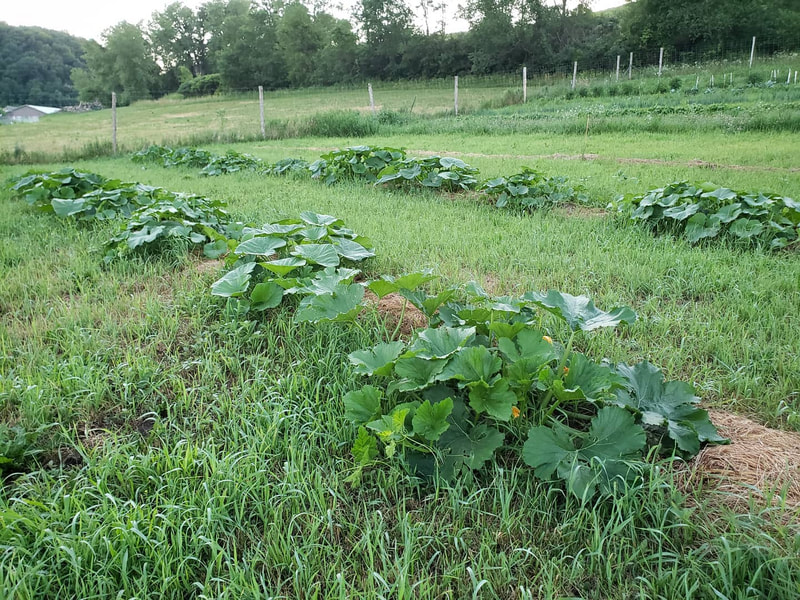
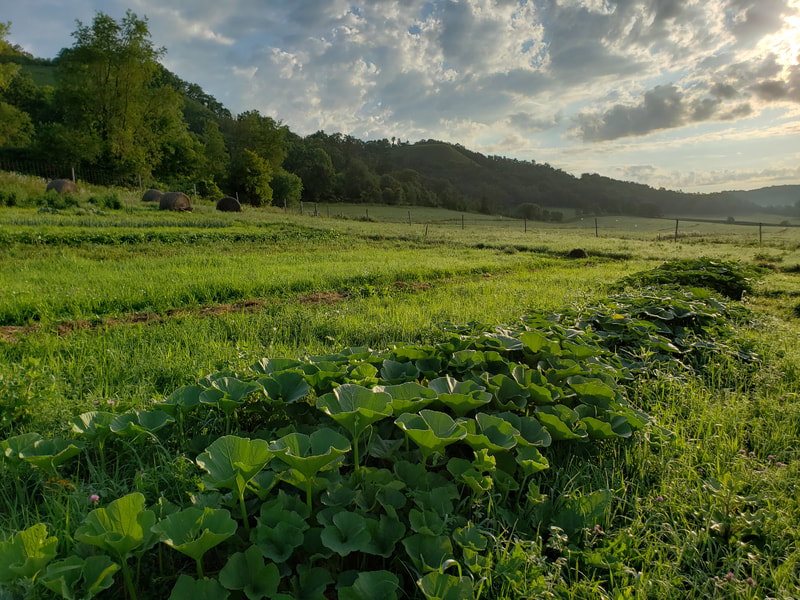
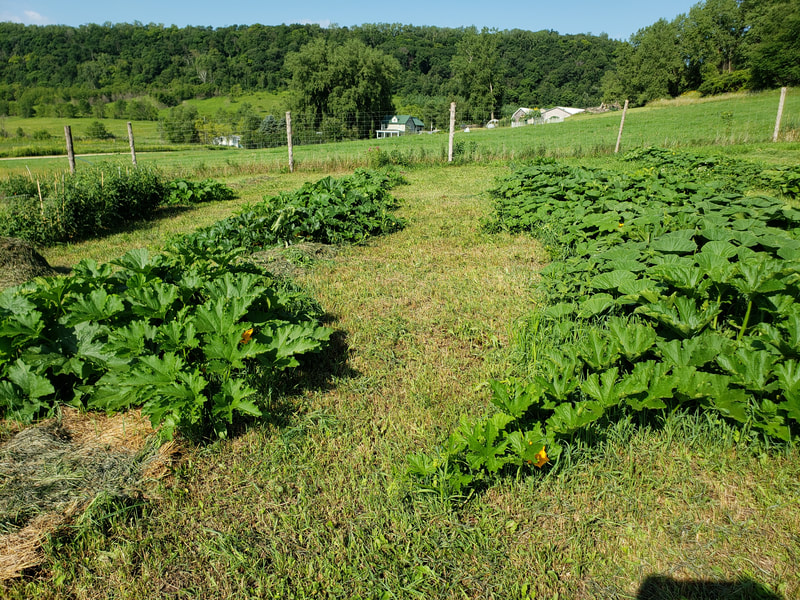
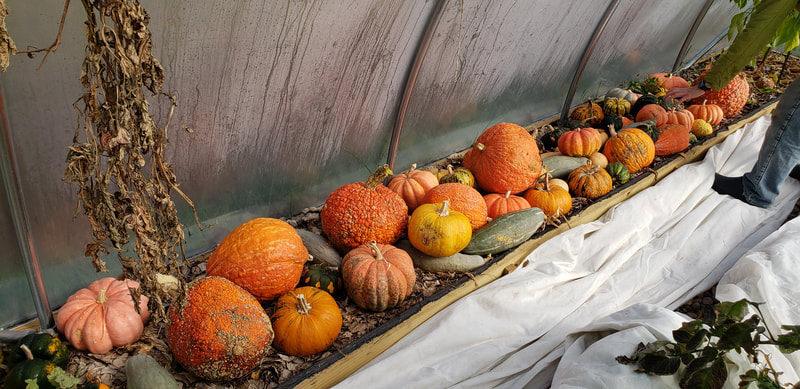
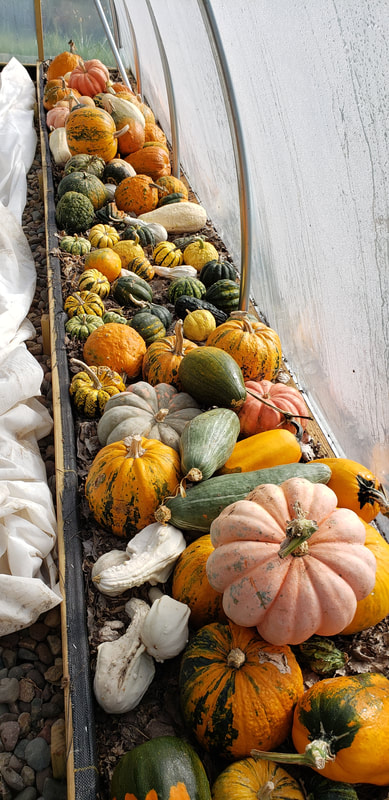
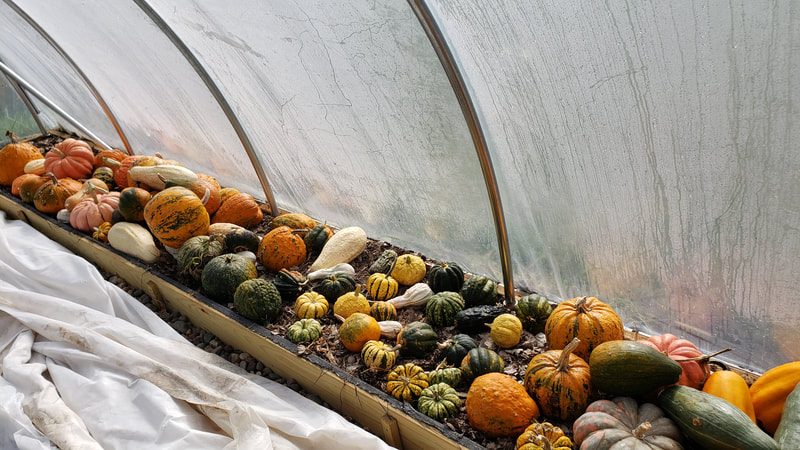
Once the potatoes have helped you establish a new windrow garden bed, you can plant any vegetable seedling you like, the following year. Because squash and pumpkins take up so much space in a regular vegetable garden, they are a great choice to grow in a windrow garden. I plant them 3-6 feet apart and train the vines to grow along the beds for as long as possible, so that I can mow the lane in between for as long as possible. Once the squash have taken over the grassy lane in between, I leave them be until harvest. Bushing plants like Kakai seed pumpkins are much easier to manage in windrows.

