|
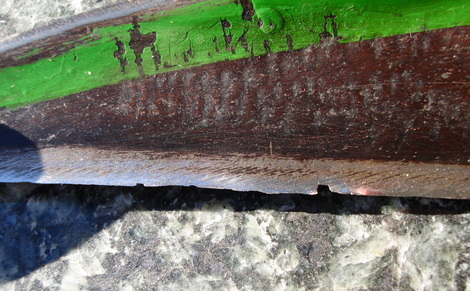
I sometimes peen scythe blades for local scythe people that don't want to peen their own. I see a lot of damaged edges doing this. Most damage occurs when the blade is dull and the owner compensates for that by swinging harder and chopping at the grass. The leverage on the tip of the blade from this force, often pushes the tang to the back of the ring, which opens up the tang angle all the way, and then the full force of the blow hits the edge of the blade straight on, instead of the acute shearing angle it was meant to. If the edge hits a rock straight on like this, you can cause considerable damage, as shown in the picture above. If you keep mowing with this kind of a crack, the crack can snag on an object, and increase the damage. I keep my own blade sharp and mow at the proper angle. I also mow with a very light and responsive touch, so if my blade catches on something, I can instantly "cut the power", and minimize the damage. My edges are also surprisingly tough, because of my peening method. Even so, I still occasionally hit rocks and damage my blade; usually when mowing new areas that I haven't cleared of rocks, or in my grain field that I had plowed once. I live in glacial till country, and we have a lot of rocks. I remember one rock in particular. A jagged piece of white quartz, the size of a tennis ball completely hidden under some mature bluegrass that was laying over it. I still cringe when I think about it. Yet the damage to my blade wasn't as bad as the damage on the blade in the photo above, and even this level of damage can be repaired. Here's how: 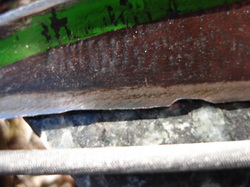 1. This method is described on page 156 of The Scythe Book. I start with a chainsaw file, and completely file out the crack. 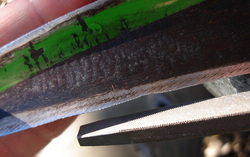 2. Next I use a triangular metal file, to file away the sharp corners left from the chain-saw file. 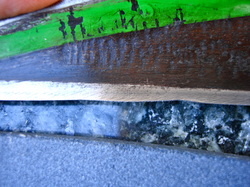 3. The I use a medium grit artificial whetstone to smooth out the rough file marks. I like the Falci carborundum stone for this. Dip the whetstone in water, and smooth out both sides. The goal of these first three steps is to remove the crack, and then to set up the area to smoothly fill in the shallow missing crescent, with metal from the thicker metal further in from the edge. This is done by gradually hammering the thicker metal with a cross-peen hammer, on a wide anvil. 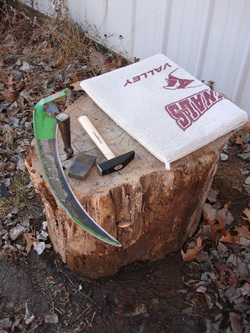 Peening anvils are classified as narrow or wide, and short vs. tall. Pictured here, I am using an antique wide-faced, tall anvil. With a tall anvil, you can sit on the same stump as the anvil. With a short anvil, you need a higher stump then your seat. 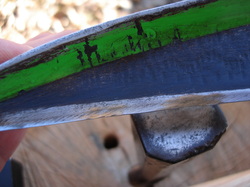 Ok, here comes the hard part. You need to tap the metal at the edge in a very accurate pattern. This requires accuracy and skill with a hammer. Ideally pin-point accuracy, but even I don't have that and I managed to do a nice repair. So don't be too intimidated. If your only experience with peening has been dinking around with a carpenter hammer on a peening jig, I suggest you practice peening lines on wood first, to develop your hand-eye co-ordination and your feel for what the cross-peen end of the hammer does. (See my blog post It's Hammer Time: Practice, Practice, Practice.) 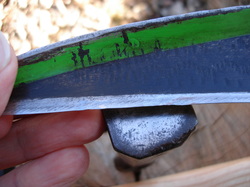 The hole has been filled in. Notice where the metal extents beyond the cutting line a little. 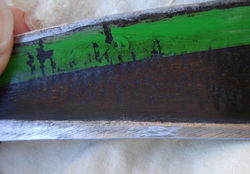 Finish the edge by filing and honing away any of the excess metal until everything is in line with the edge.
1 Comment
11/9/2014 08:17:05 pm
Very Nice post. This post is very helpful for me.Thanks for sharing.
Reply
Your comment will be posted after it is approved.
Leave a Reply. |
Botan AndersonArchives
March 2023
Categories
All
|
 RSS Feed